
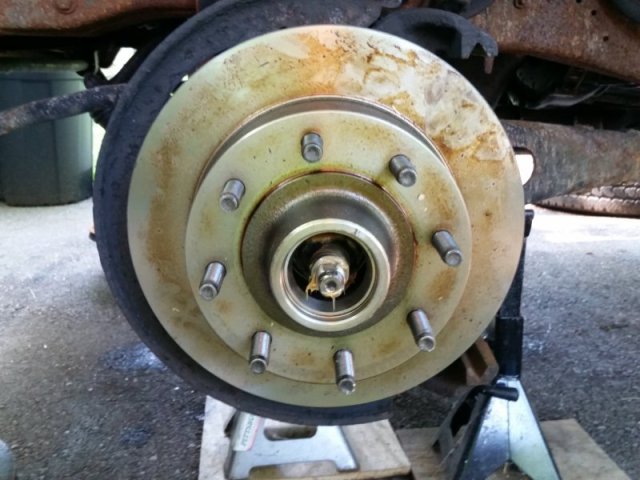
Most cars these days have the rotor separate from the hub and bearing, but some trucks and older vehicles use rotors that contain two sets of tapered bearings inside them and include the studs for the lug nuts. They’re more complicated to service, so here’s a guide on replacing them. You will want a lot of rags and gloves for this.
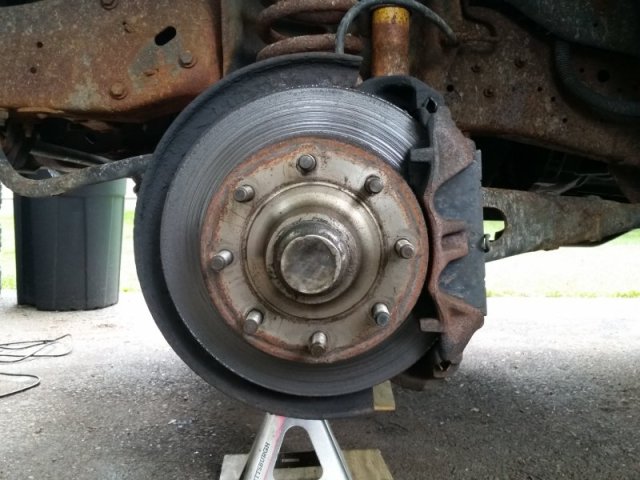
Remove the brake caliper. The vehicle pictured is my 1990 Ford F-250. If you need help removing the calipers, I recently posted a How To guide for that as well.
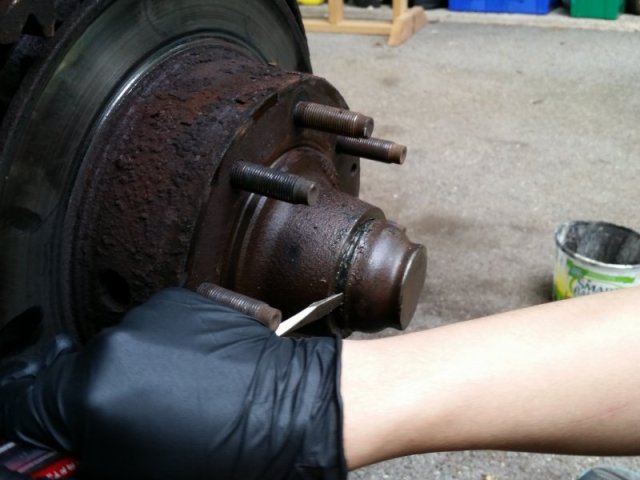
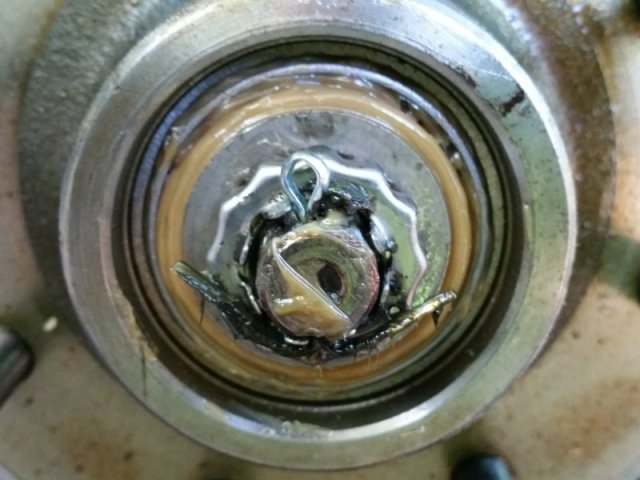
Use a screwdriver to remove the dust cap.
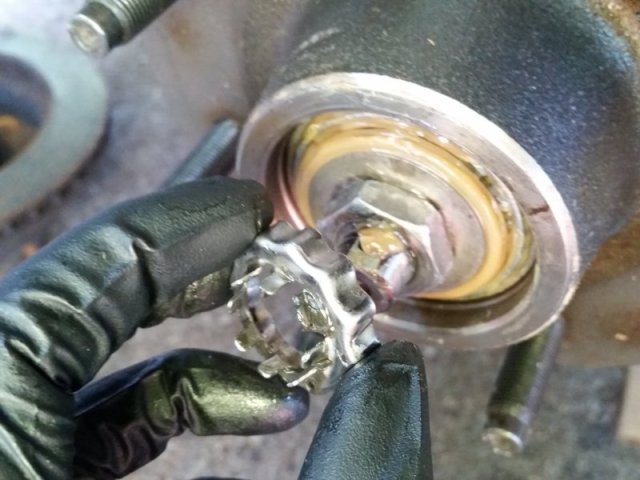
Remove the cotter pin.
My truck has a separate part over the nut for the cotter pin to hold against, others will just have a castle nut.
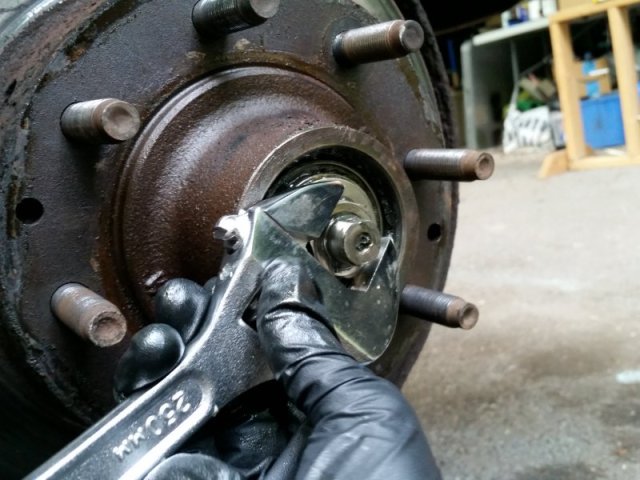
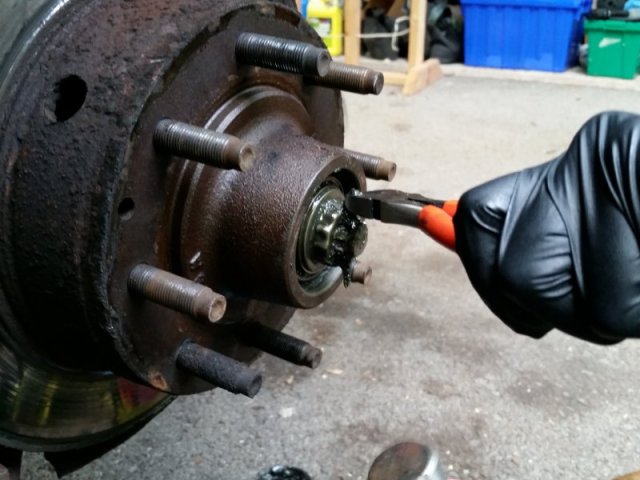
Remove the nut.

Remove the washer and the outer bearing.
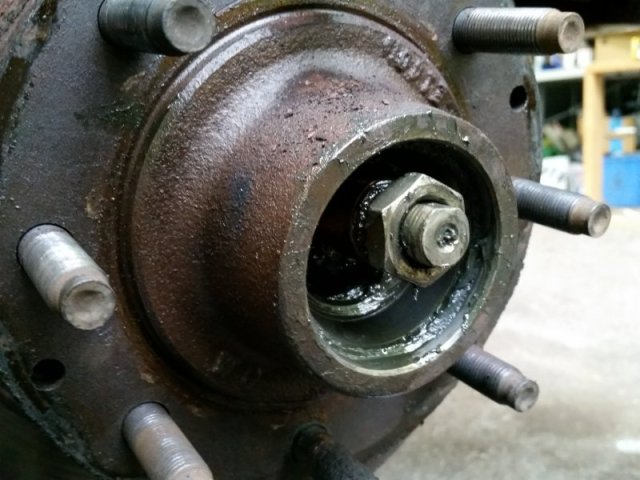
Thread the nut back onto the spindle.
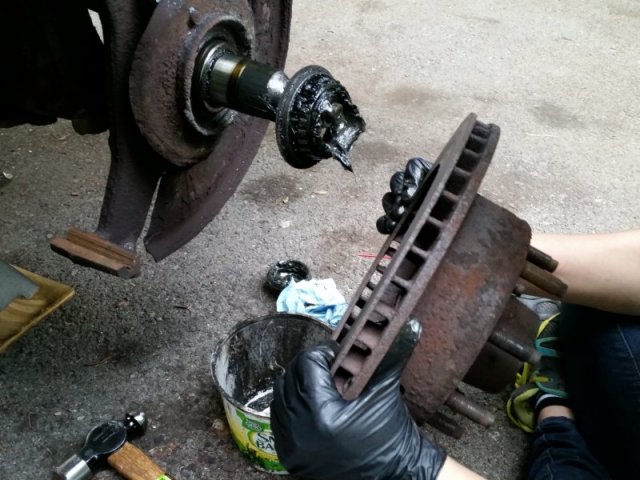
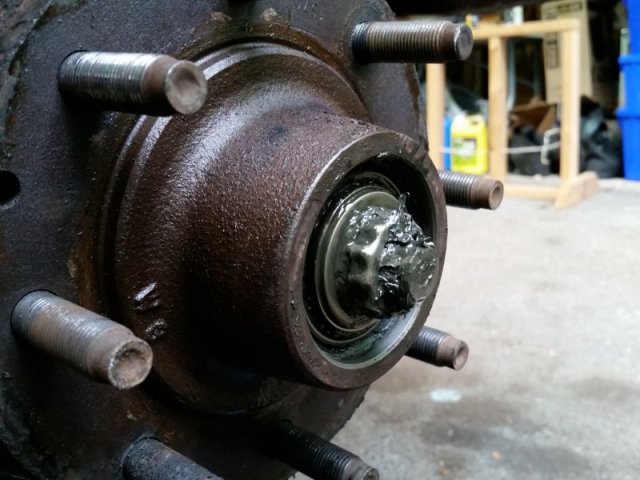
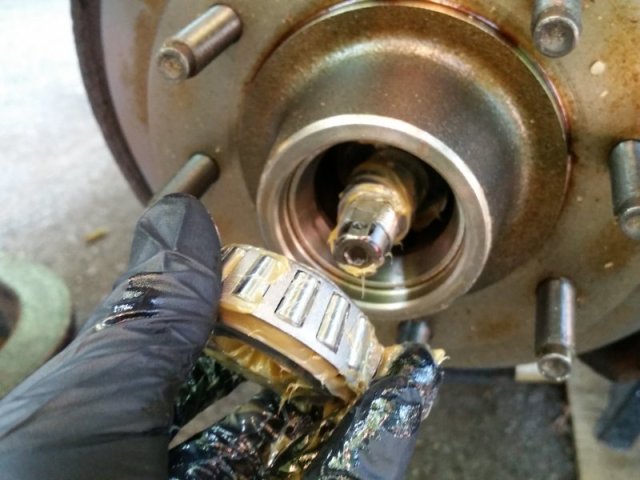
Remove the rotor. The inner bearing will catch on the nut and get pulled out of the rotor.

Clean all the old grease off the spindle and put a thin coating of new grease on.
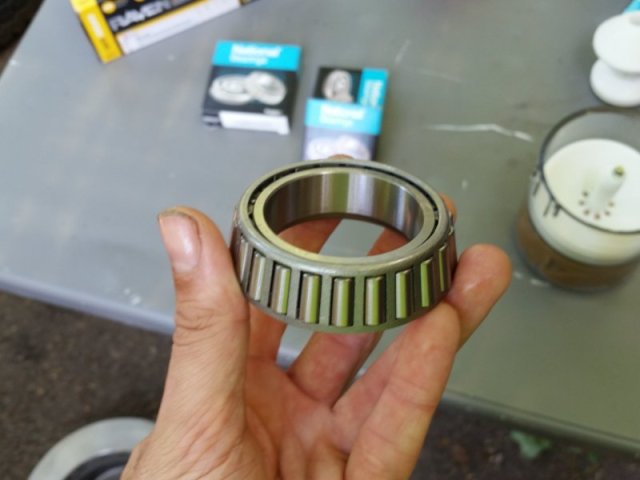
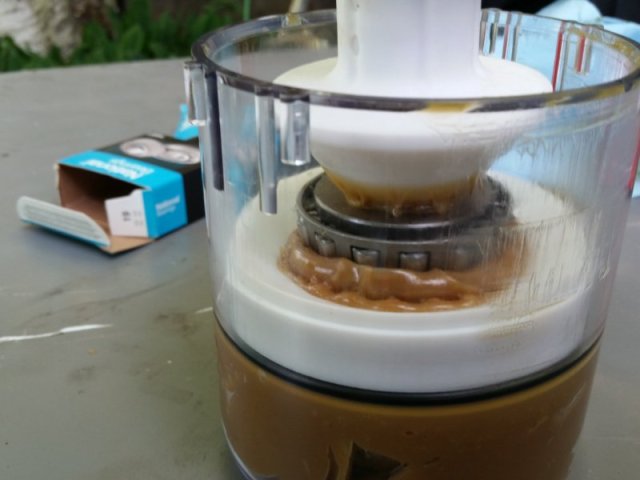
I’m using brand new bearings, but if your bearings are still in good condition you can can reuse them. Start with the inner bearing.
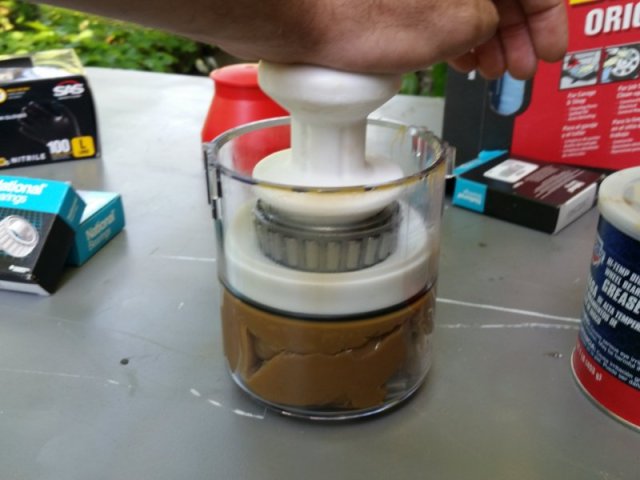
Fill a bearing packer with grease and place the bearing in, small side down.
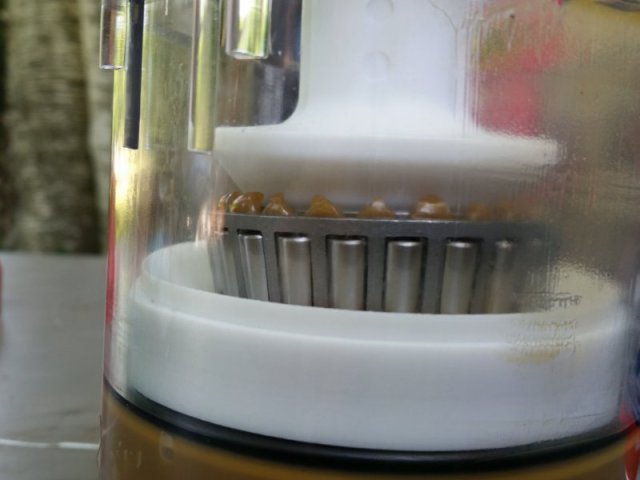
Press down until grease starts to come out of the top. If you’re repacking an old bearing that still has old grease inside, it’ll get pushed out by the new grease.
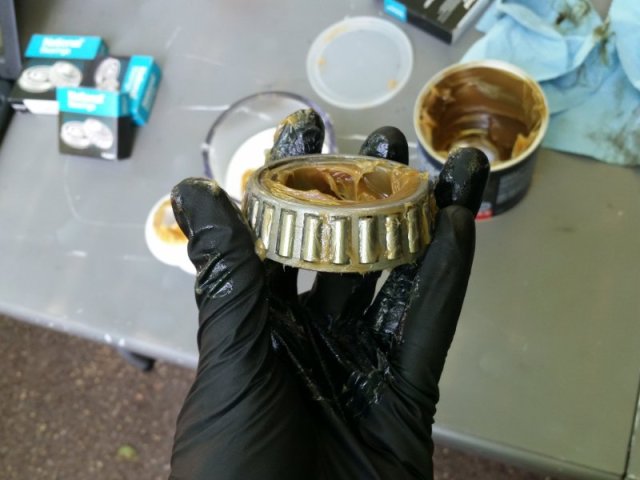
Take the bearing out of the packer and make sure it’s got a coating of grease.

Place the inner bearing into the back of the rotor, small side in.
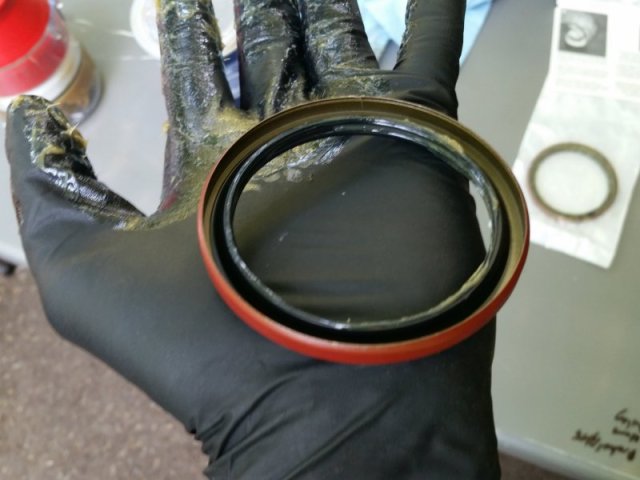
Apply a light coating of grease to the seal. You can reuse the old seal if it’s in good condition, I bought new seals.

Place the seal into the back of the rotor, cup side in. Tap it in with a hammer.
Slide the rotor and bearing onto the spindle.
Pack the outer bearing with new grease.
Place the outer bearing onto the spindle, into the rotor.

Put the washer on the spindle.

Screw the nut on. Don’t tighten it, get it just barely snug, just a tiny bit loose. Tightening it down will end up damaging the bearings.
If your vehicle’s nut isn’t a castle nut, install the nut cover.
Install the cotter pin. I prefer to use brand new pins.

Tap the dust cover back on with a hammer.

There you go, a new rotor and freshly greased bearings. Hope this helps!
New blog posts every Monday and Thursday, plus pictures throughout the week on Facebook, Twitter, and Instagram!
Mechanical Malarkey T-shirts, hats, and stickers are available to order!
-Dan
